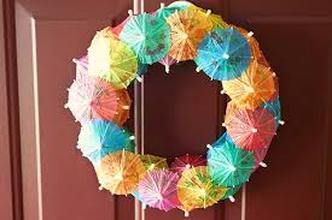
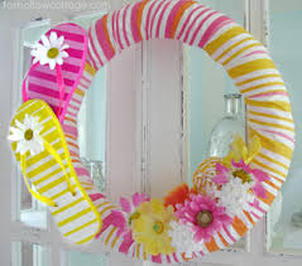
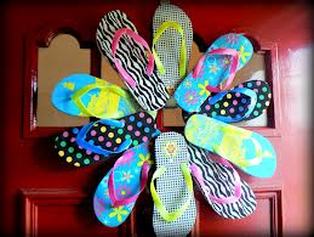
Summertime is here, so get your thinking cap on, and make a wreath this summer!! Here are some ideas :)
Happy Crafting!
Happy Crafting!


|
Summertime is here, so get your thinking cap on, and make a wreath this summer!! Here are some ideas :) Happy Crafting!
Happy early Valentines Day everyone!! I know your probably thinking "Why in the world is she thinking about Valentines Day already?" Well, the truth is... I really LOVE Valentines Day! :) Down below is what my V-Day wreath is going to look like, except mine might be pink! :) (This is not my picture, I'm using this picture as an example :) Here is the link where I got it from... http://www.theidearoom.net/2010/01/valentines-day-craft.html) Supplies: 1. Foam Wreath 2. Felt (Lots of it) 3. Straight Pins 4. Scissors 
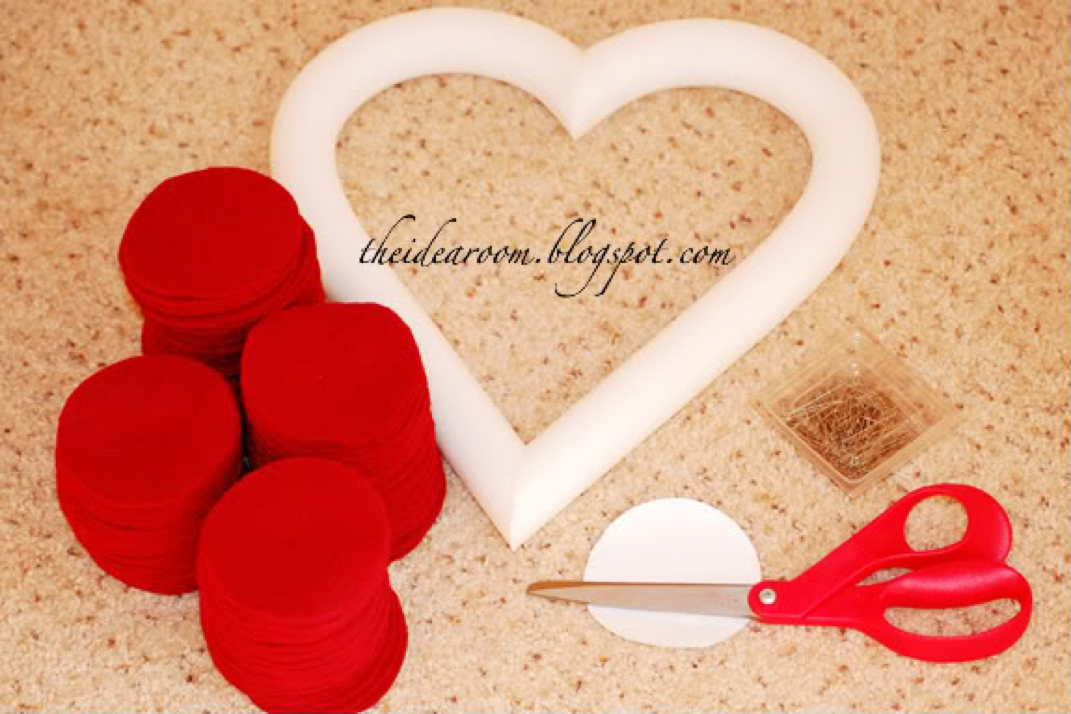
Here is all the supplies!!
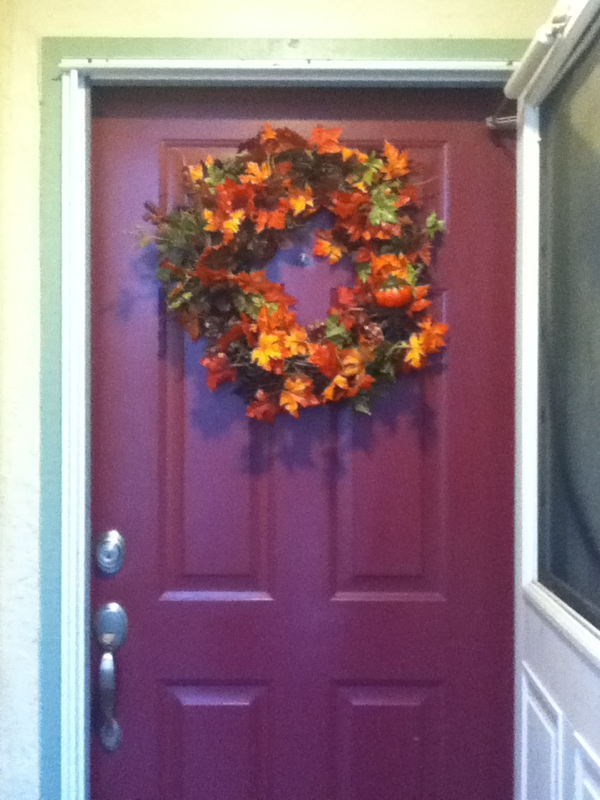
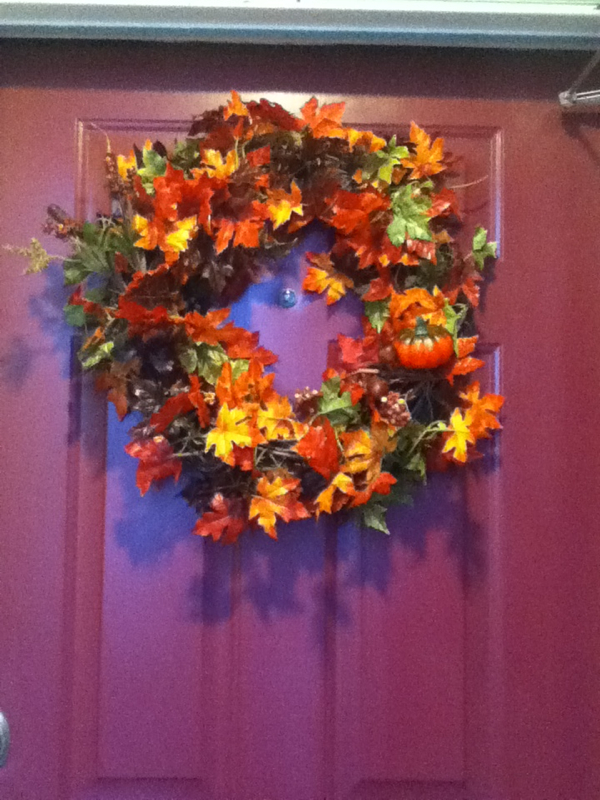
Hello everyone!!! :) I'm proud to say that this is my Thanksgiving wreath!! Yay!! :) I made it myself.. And heres all I did it... 1. I bought a single twig wreath, simply plain with nothing on it! Heres what that looked like.. 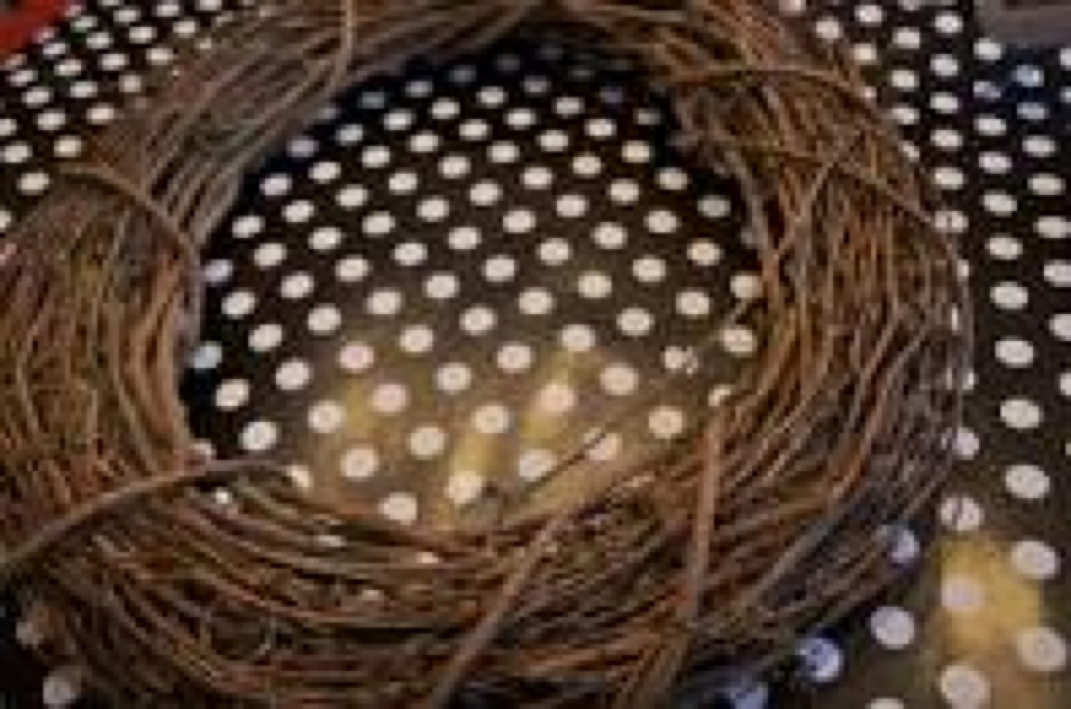
$4.00 at Southern Hospitality
2. The next thing that I did was, go through my Thanksgiving bins and found a garland of leaves that you usually wrap around outside doors, windows (etc) 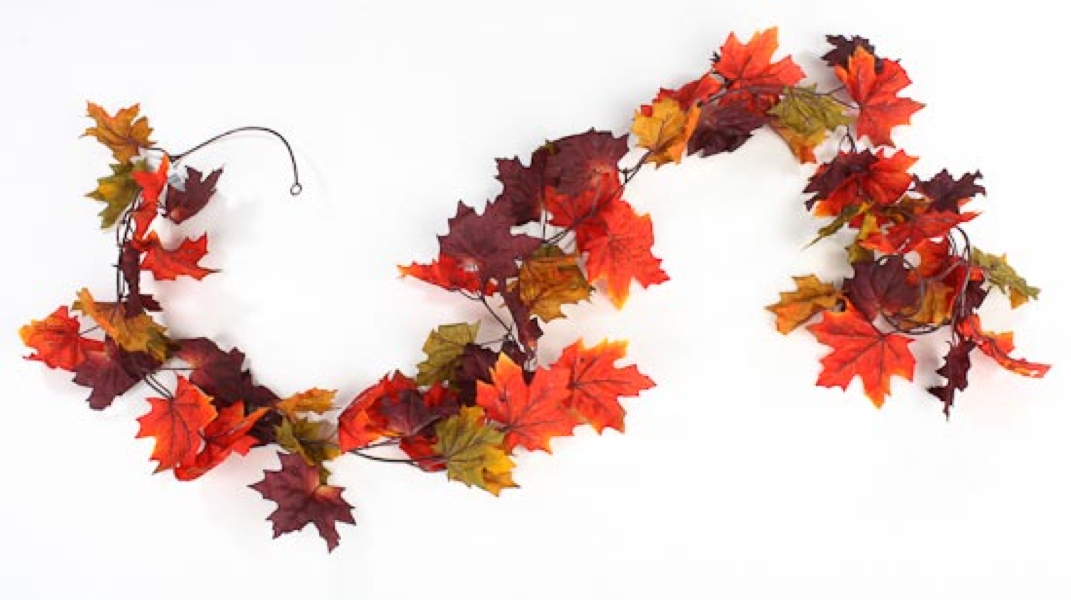
Fall leaf garland
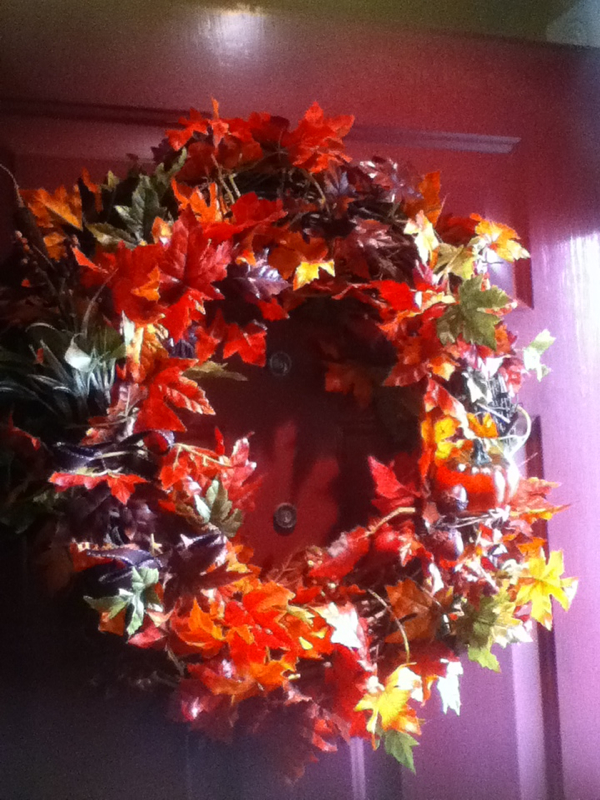
3. Next I saw pieces of a cornucopia, that I thought would look great as accent pieces!
4. I wrapped the garland around, and stuck the pieces of the cornucopia carefully around the wreath 5. And finally I was done!! :) For me, I like calling things "My own" so making my own wreath was perfect! If your like me, and want something to be called "Your own" then make your own wreath this year!! :D Know one says you have to buy a $15 dollar wreath this year, why not call it "Your own" and enjoy making it yourself the way you want!!. Hope this helped!! :) And, hope you all have a Happy almost Thanksgiving this year!! :) 
I really enjoyed making these frames right here!! :) They were so fun to decorate!! So, the only supplies I needed was..
Directions:
And thats all!! :) This DIY craft is super fun, and you defintally can call it "Your own" ;) 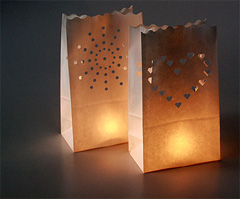
I got this great idea and picture from http://www.save-on-crafts.com That is a great website!! :) Luminarias are traditionally shown in rows along walkways, driveways, and even rooftops! You can get regular, colored, or already decorated paper bags for the holidays, from either a party or craft store! Directions- 1. Place one to two inches of sand in the bottom of each bag. 2. Put a tealight or votive candle into the center of the sand. 3. Light the candles, and there you go :) To customize plain paper bags you can stamp, stencil, or draw on them with craft paint or markers! 
Here are some other pictures, on what they look like
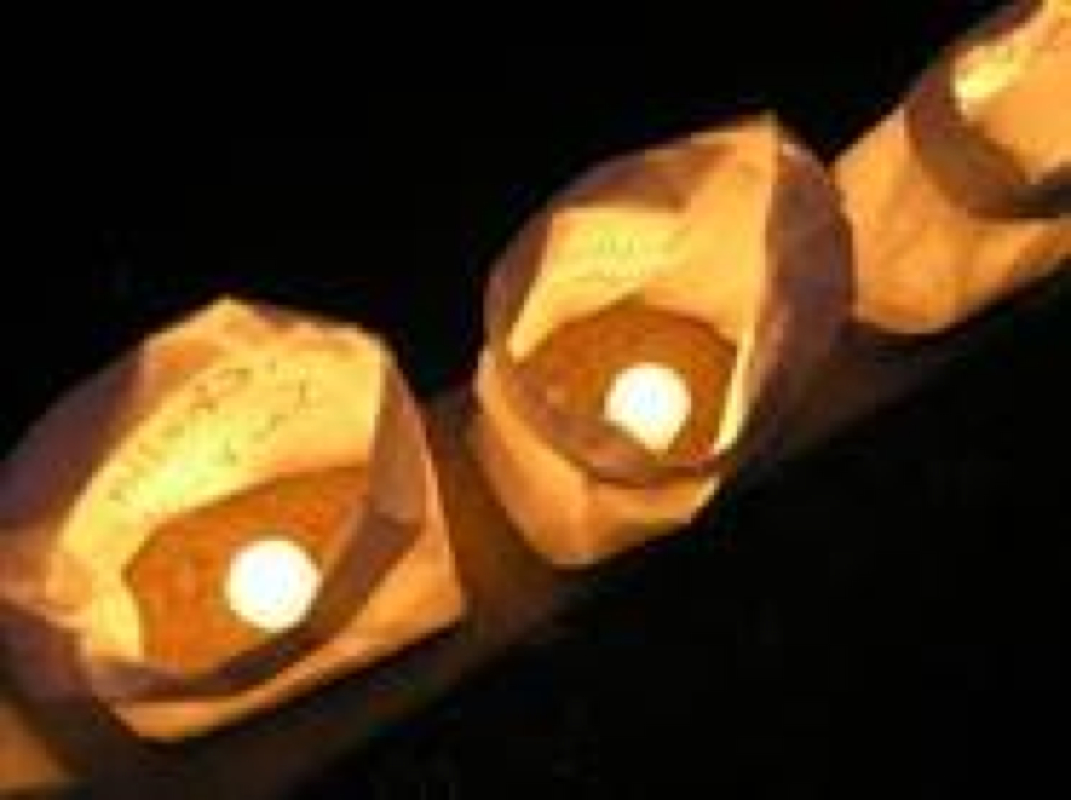
This is what the inside of the paper bag should look like :)
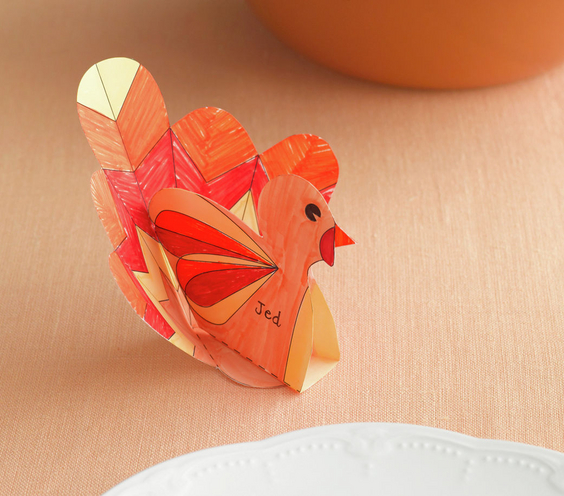
So I came across this website called.. www.realsimple.com and I saw this really easy craft to do with your kids :) This picture is also from www.realsimple.com! :) All you need is crayons and scissors!! Here is the cut out...
Hello everyone!! "Hooray Hooray Fall starts today!!"
I was so pleased to look on my calender and saw that today fall begins!! :) You all know how much i love this time of year!! :) Cant wait to post crafts for you and your family can make together this year!! Anyways, I wanted all of you to check out this Etsy website... :) I saw it and fell in love and had to share with all of you!! :) http://www.etsy.com/shop/HolyKissBoutique?ref=si_shop |
AuthorLoves hair, clothes, and crafts! For my free time I like to decorate, create new duct tape items, and play piano! :) Archives
June 2014
Categories
All
Subscribing directions:
If you want to subscribe to get emails from DIY Crafts, then subscribe down below! *Don't forget to check your email, to confirm your subscription |
||
 RSS Feed
